Quick photo tip: Digitally restore old photos

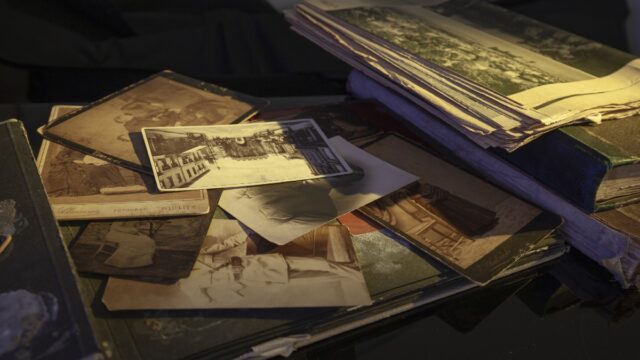
Does your family have old photo albums? Have you ever spent time looking at all the old black and white or wonderful vintage sepia-colored images?
Old pictures capture lovely moments in time, like your serious-faced ancestors. They posed for their first photo with the family’s first Brownie or Polaroid camera. While it’s great to look through all those snapshots, it’s sad to see how faded, scratched or torn some can be.
But modern technology is fantastic, and you can restore damaged photos to their old glory. Before we jump into the steps, this process requires some photo editing skills and a program that uses layers, like Photoshop or GIMP.
Crop out the bad
First things first. Don’t want to pay for Photoshop? GIMP is a free alternative that has all the features of Photoshop without the cost. Tap or click here for direct download links. Now onto the editing.
Since old photos come in various sizes and formats, your first step should be cropping them to the dimensions you want. This allows you to remove problem areas like marred edges or bad vignette corners. This also helps you establish a focal point by allowing you to “zoom in” on the subject.
Need some inspiration for your own photography goals? Check out Dreamstime for thousands of amazing pro images and start getting inspired now!
Need some help cropping and editing photos? Tap or click here for five photo apps that make your pics better without any Photoshop skills.
Adjust colors
Think about the final image. What do you want it to look like? If the original is that beautiful sepia hue, but you want black and white, add a black and white layer. If it’s black and white, but you want sepia, add a photo filter effect. To colorize a black and white image, see my recent post on the topic.
Tap or click here for our Tech how-to: Colorize old black and white photos.
Next, add adjustment layers for Brightness and Contrast, then adjust the overall exposure with a levels layer. When working with older photos, you can lose definition, so it’s essential to use a Color Balance adjustment layer to tweak shadows, mid-tones and highlights.
Don’t forget to preserve luminosity as you go, then finish using a Hue and Saturation layer.
Fix damaged areas
Use a tool like Spot Heal in Photoshop to remove small dust or marred spots. The Clone Stamp is great for large creases, but if a big part of your photo is missing entirely, try using the Content-Aware Fill tool.
Depending on how bad the damage is, you may need to use all of these tools and carefully tweak everything until you get the results you want.
Adjust exposure levels
For the sections of your photo that are slightly over or underexposed, use the Dodge tool to lighten it or the Burn tool to darken the offending areas.
Some images will be easier to restore digitally than others, depending on the amount of damage they’ve sustained over the years. But using these simple techniques can help you bring new life to those old photos, bringing joy to future generations. Have fun, and good luck!
Tags: applications (apps), brightness, colors, editing, family, hue, Images, old photos, photo albums, photo editing, Photoshop, saturation, tech, technology, vintage
