How to record your screen on iPhone and iPad
May 11, 2020
By Kim Komando
We’ve all been spending more time with our smartphones and tablets of late. You may have even taken the time to learn some pro tips while you were sheltering in place. When you discover a neat trick you might want to share it with someone by sending a screenshot.
Taking a screenshot on your iPhone or iPad is a great way to capture a moment. Maybe you saw a picture on Instagram you want to save or you need to send a friend a picture of an email. The problem with a screenshot is it only captures still images or single frames from a video.
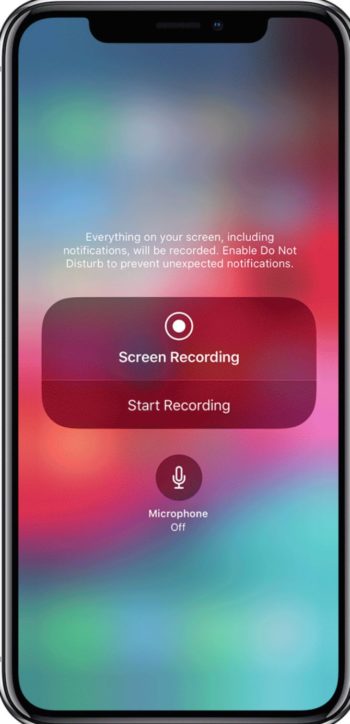
If you’re trying to give someone a step-by-step tutorial on how to do anything on your phone or tablet, you’ll wind up sending a ton of pictures. Fortunately, Apple offers a better option for you than the typical screenshot. In just a few simple steps, you can activate and record all of the actions that are shown on your screen.
How to record screenshots on your Apple device

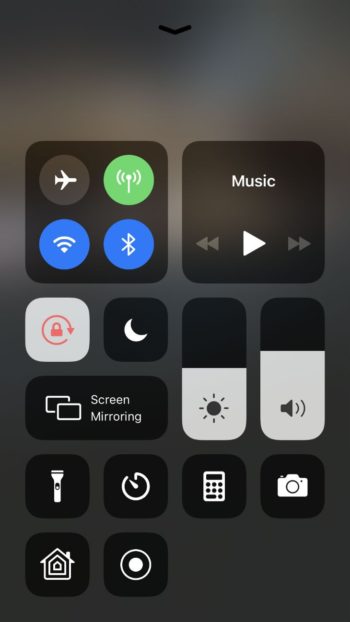
To activate screen recording, you first need to go into your iPhone settings and navigate to the control center. Once inside the control center, select customize controls and press the green plus sign next to the option that says screen recording.
Once you’ve added screen recording to your repertoire of tools in the control center, you’ll be able to access the screen recording option with the swipe of a finger. To view the control center’s main screen all you need to do is unlock your phone and swipe up from the bottom of the screen or down from the top depending on your model iPhone.

To enable screen recording on your iPad, you will follow the same steps used to enable recording on your iPhone.
Deactivating screen recording
Deactivating the screen recording option on your iPhone or iPad is almost identical to how you would activate it. The only difference is, once in the control center settings, you will select the red minus sign then press the back button in the top left corner when you are finished.

It’s that easy. Now you’re ready to record your screen and share it with anyone who needs instructions or just want to show them something fun.
https://www.komando.com/news/record-iphone-and-ipad-screens/