5 security settings to change on your smart speaker
March 5, 2020
By Kim Komando
You want all the devices in your home to be safe. For those that connect to the internet and have the ability to listen to your conversations, you need a little extra security.
We’re talking specifically about smart speakers. Tap or click here to adjust the security settings on another IoT device. Smart speakers can be incredibly useful, but also a giant liability for you and your loved ones.
Thankfully, there are actions you can take to make your smart speakers much more secure. We’ll tell you what to do to ensure hackers can’t make their way into your tech and your home.
1. Mute the mic
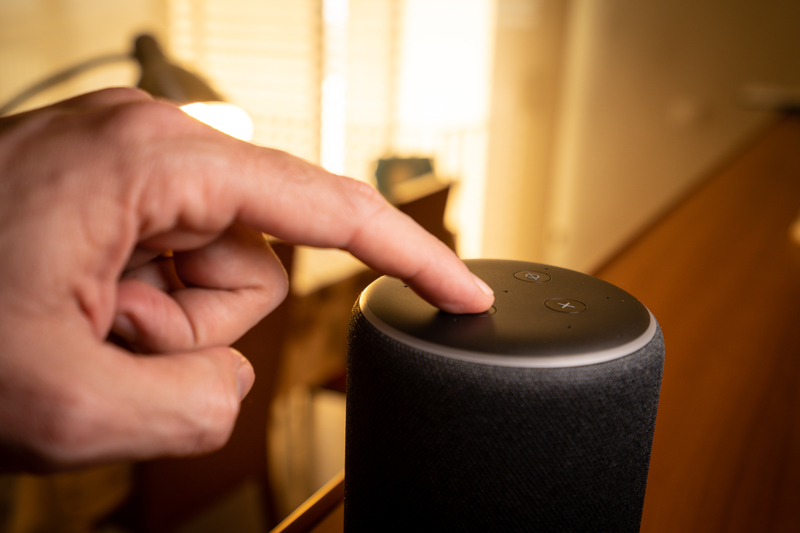
The microphone on your smart speaker stays on to listen for the trigger words that allow you to use the device. This means your speakers are always listening. Tap or click here to see how many times your smart speaker accidentally records you.
Of course, the devices aren’t supposed to be listening for anything except the trigger words. But it’s this feature that leads to so many jokes and accusations about the government or companies spying on you through smart speakers.
So what can you do about it? You can mute your speaker’s microphone. Just remember to unmute the microphone later when you want to use the speaker again.
To mute your Amazon Echo device’s microphone:
- Press the microphone button at the top of your speaker.
- Hold the button until it turns red.
- To turn the microphone back on, press the button until it turns blue.
To mute your Google Home device’s microphone:
- Look for the lone button on the back of your smart speaker that has a microphone picture on it.
- Press the button. Four amber lights should appear at the top of your Google Home device, indicating the microphone is off.
- Press the button again to turn the microphone back on — the lights on your device should turn green to indicate the microphone is listening.
2. Never forget to delete recordings
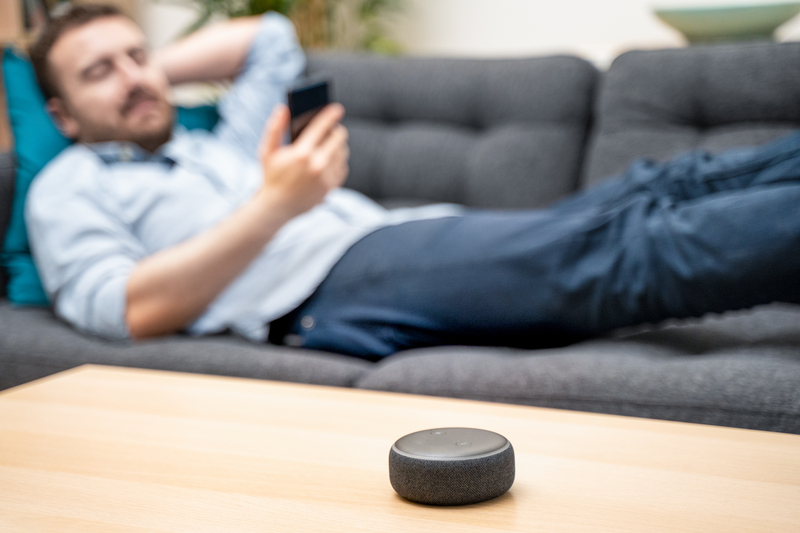
Smart speakers record your conversations with them. Ostensibly, this is to send data back to its developer so the developer can improve its functionality, but it’s still a privacy violation.
Fortunately, you can delete these recordings. Not only that, you can set your Amazon smart speaker to regularly delete these recordings so you never forget to do it. Your device may not remember your preferences as well if you delete recordings, but it’s worth your security.
To schedule deletions on your Amazon Echo speaker:
- Open your Alexa app, and tap on the left drop-down menu (the three-line icon).
- Tap on “Settings.”
- Tap “Alexa Privacy,” then “Manage Your Alexa Data.”
- Under the “Manage your voice recordings” heading, set the “Automatically delete recordings” option to turn it “Off” to enable automatic deletions. Choose “Keep my recordings for 18 months” or “Keep my recordings for 3 months.”
- If you’d like to keep things very private, we suggest only keeping recordings for 3 months.
- Tap “Confirm.”
- To manually delete recordings from your Echo, in the “Alexa Privacy” page, tap “Review Voice History,” and set the “Date Range” drop-down to “All History.” Tap “Delete All Recordings for All History” to delete.
- To delete only specific recordings, check the box to the left of the recording titles you want to delete, and tap the “Delete Selected Recordings” option that turns blue once you have a box selected.
Google won’t let you schedule deletions, but you can still delete recordings your Google Home has made. To delete recordings on your Google Home speaker:
- Go to MyActivity.Google.com, or the Google App, and sign in to your Google account.
- In the left menu, click “Data & Personalization.”
- In the Activity Controls panel, click on “Web & App Activity,” then “Manage Activity.”
- Here, you’ll see past activity with an audio icon including a recording. Next to them, select “More” then “Delete.”
- To delete all of your recordings at once:
- Back in the “Google Account” menu, select “Delete Activity by.”
- Set the date to “All time” and the product to “Voice & Audio.”
- Click “Delete,” then click “OK.”
3. Turn off voice purchasing
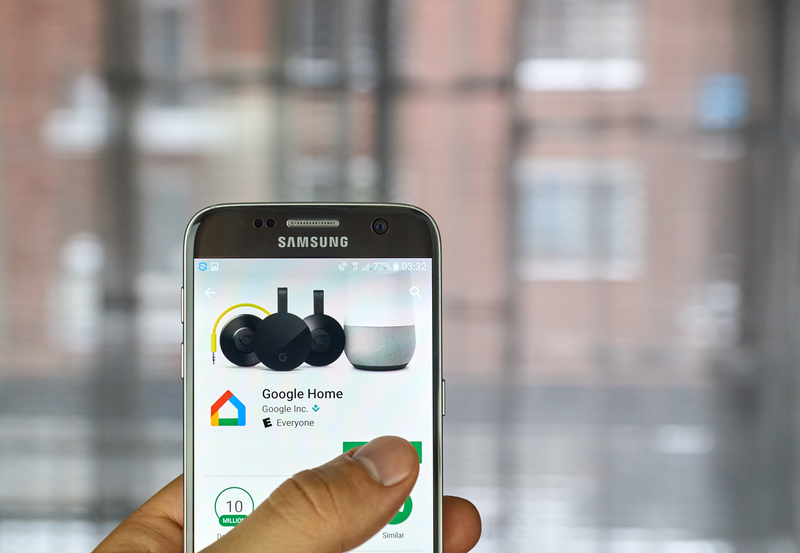
Your smart speaker lets you add items to a shopping cart and lets you make purchases through voice commands. This makes shopping easy, but it also means your smart speakers are connected to your credit and debit cards.
Anyone, including children, can make purchases through your smart speaker if they know what to say.
To better protect your finances, and prevent impulse purchases from people in your household, it’s best to keep voice purchasing turned off on your smart speakers.
RELATED: Tap or click here for online shopping safety tips
To turn off voice purchasing on an Amazon smart speaker:
- Open the Alexa app, and go to “Settings.”
- Tap on “Voice Purchasing.”
- Turn the “Purchase by voice” switch to off.
To turn off voice purchasing on a Google Home smart speaker:
- Open the Google Home app, and tap on “Settings” (the gear icon).
- Scroll to “Google Assistant services,” and tap on “More Settings.”
- Tap “Payments.”
- Turn the “Pay through your Assistant” switch to off. This will disable purchases through Google Assistant on all devices, including your smartphone.
You can also set a confirmation code on your Alexa devices to keep purchasing to just you or your spouse, and turn off purchasing on just one Google Home or Nest speaker. But we recommend turning it off altogether to keep your finances safer.
4. Think before you connect devices
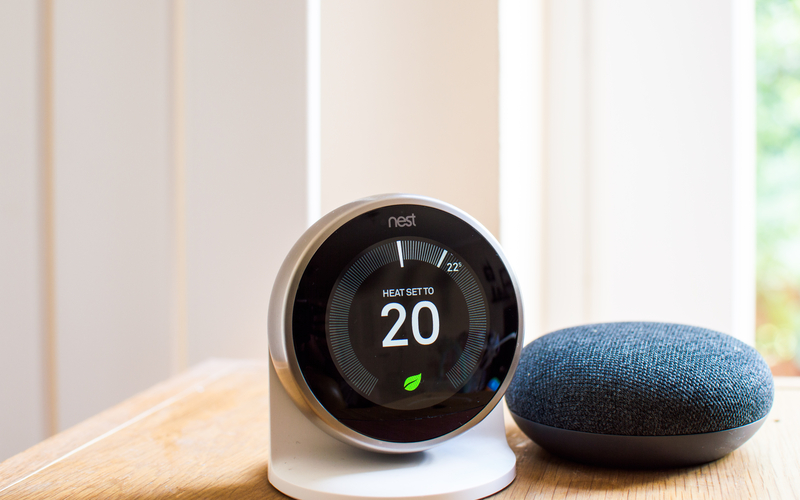
Smart speakers can connect to other smart devices in your home. This can be fun and can make things easier, but it can also make devices easier for hackers to access.
Your smart locks can be unlocked via voice command if you connect them to your smart speaker, meaning this could lead to lockouts from roommates, children or strangers.
Smart security camera footage could also be accessed via your less-secure speaker if a hacker has trouble accessing your camera. Tap or click here to see a major security camera hijacking flaw.
Connecting all of your smart devices doesn’t benefit you. If you’re not comfortable with an outsider using one of your smart devices, you shouldn’t connect it to your smart speaker.
5. Make sure your home network is safe
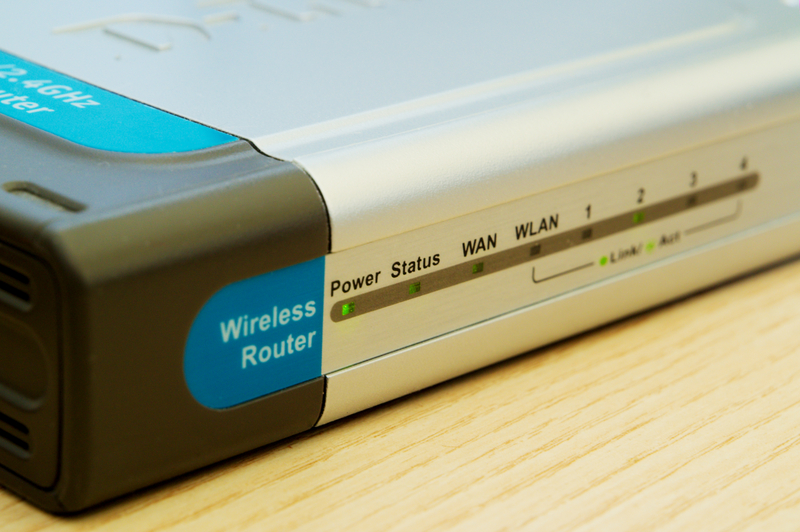
The final step to keeping your smart speakers safe is keeping your router safe. Smart speakers need to connect to Wi-Fi to work, but if you’re on an insecure network, your smart speaker could be hacked or damaged.
The secret to protecting your home network is keeping your router’s software updated and setting a strong admin password. Tap or click here for a router security guide.
You don’t want to have your home and personal information vulnerable just because you like using a smart speaker. Follow our tips and guidelines, and you’ll keep your speaker, and therefore your household, safe and secure.
https://www.komando.com/news/security/security-settings-smart-speakers/