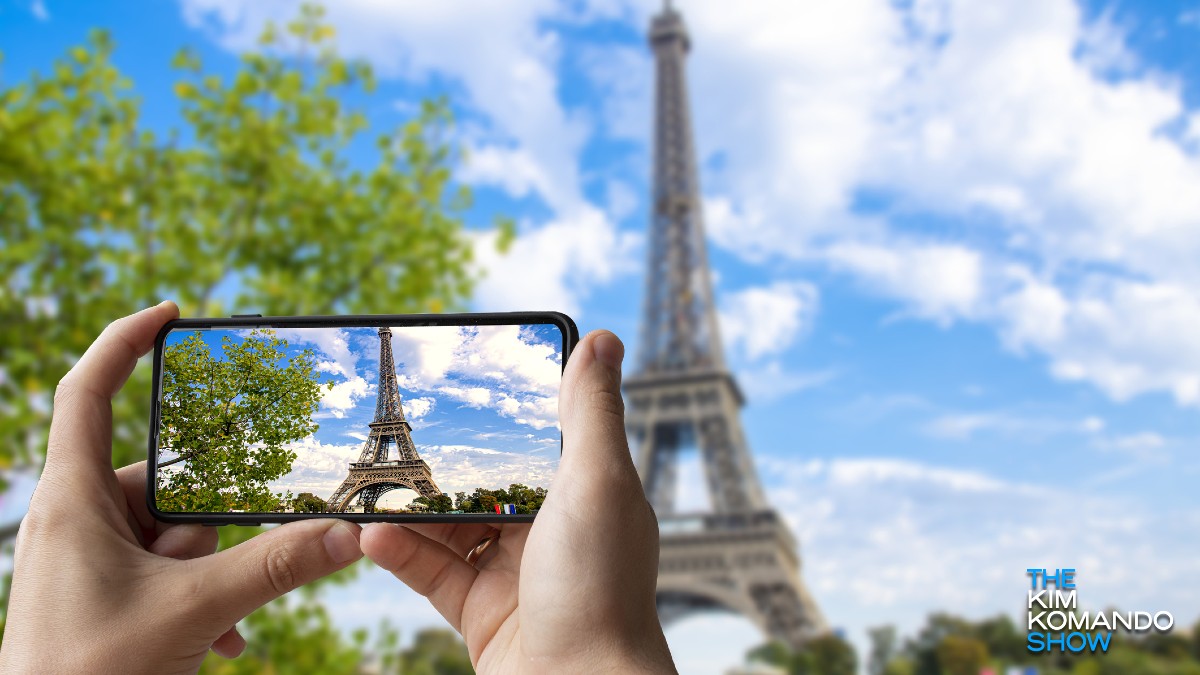
There’s an amateur photographer inside each of us. For years, iOS devices constantly outperformed many Android devices regarding camera quality and built-in camera modes. But that’s changing.
Now that Android phone cameras are punching up with better hardware and software, you can take stunning photographs like a DSLR camera. This guide will teach you how to unlock the features in your Android phone, frame your shots and make share-worthy photographs that look highly professional.
Keep reading for tips and tricks to help you capture the best photos possible on your Android phone.
1. Basic tips before you start taking photos
Before you can flip into photography mode, we should get a few things in order first. Do these quick setup tips so you can focus on the fun part without running into problems.
Clean your camera lens with a microfiber cloth
Microfiber cloths are excellent because they won’t scratch lenses. Wipe down your lens for 10 seconds to clear any dust or debris. Always store your phone in a case or bag that minimizes the risk of scratching the lens.
Find your camera specifications
Your camera specs will impact what type of photos you can take. Find out what megapixel (MP) resolution it takes pictures in and if it has a high dynamic range (HDR). Optical zoom will also be helpful; the digital zoom is not. You’ll find the specs in your phone’s manual. Don’t have it on hand? Tap or click for thousands of free manuals online.
Double-check your storage
With the correct settings enabled, high-quality photos quickly add up and take up a lot of space. Check your phone’s internal storage and take a practice photo with your correct settings. Check the photo file size to give yourself a rough idea of how many you can take before you run out of storage space. You can always expand your phone storage with a micro SD card.
Now that you understand the basics let’s move on to some pro photography tips.
Continue reading →


