Tech how-to: Remove duplicate photos and declutter your digital library
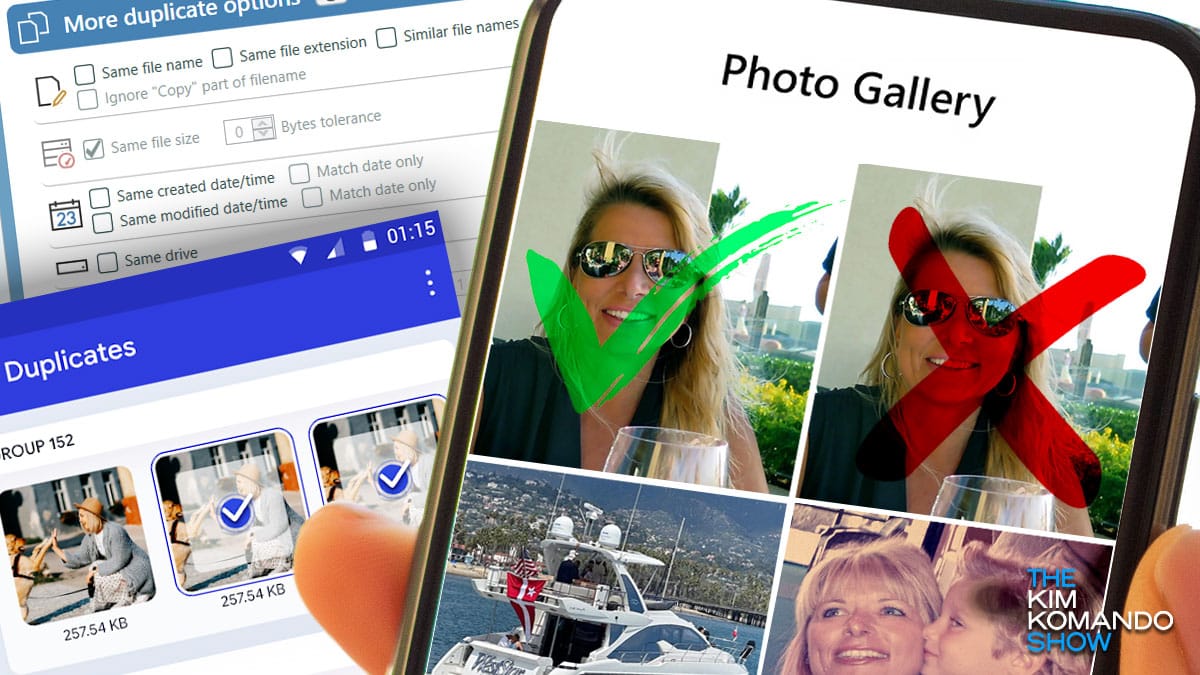
If your photo library feels out of control after the holidays, you’re not alone. Between taking multiple shots to get the perfect one and sharing images with friends and family, duplicate photos pile up quickly. Here’s a simple guide to declutter your digital photo collection.

1. Start with built-in tools

Try the free tools already available on your device. These can help you quickly locate and remove duplicate photos.

iPhone or iPad: The Photos app makes this easy‑peasy.

  • Open your Photos app and select Albums.
  • Scroll down and choose Duplicates. (I just looked at mine and had 2,933 duplicate photos and 49 videos!)
  • Hit Select > Select all, then tap the Trash icon to delete them. You can also select Merge to combine your dupes into one great shot.

For Android: Don’t delete your duplicates manually; open the Files by Google app, select Clean, then:

  • Tap Confirm and free up > See junk files and select what you want to clear.
  • When you’re ready, tap Clear > Clear. That’s all it takes to remove screenshots, memes, duplicates and other junk mixed in with your important photos.

For Google Photos: Sorry, there’s no built-in duplicate-cleaning tool here, so it’s up to you.

  • Log into Google Photos, and click Photos in the left panel.
  • Select any photos you no longer need (or want), and click Delete.

2. Get an app made for the job

If you have thousands of duplicates, deleting them manually takes forever. A third-party app like Duplicate Photos Fixer Pro is a quicker solution. None of these apps are perfect, but take any help you can get!

3. Go beyond duplicates

Continue reading

Worried someone is snooping on your iPhone? Here's how to record evidence

Safety Check for iPhone lets you quickly stop sharing your information or review and update sharing with people and apps. It’s among several safety features introduced with iOS 16, which you can read about here.

You’ll want evidence if you’ve experienced harmful or suspicious activity on your phone and must report it. Screenshots can help, but that might not always be enough. Here’s how to record what’s happening on your screen.

Continue reading

👁️📢 Your eyes only: If you have sensitive pics like your driver’s license on your phone, set up a locked folder in Google Photos. Open the Google Photos app > Utilities > Set up Locked Folder. Follow the on-screen directions to finish up.

Quick pic tip: How to clean up your photo library, fast

While it’s fun to take more than five pics of every cute animal, life event or meal, your phone has a limit. For every beautiful shot, you’re probably saving a bunch of junk, too. Are you getting that “storage full” message? It’s a pain.

Continue reading

10 tips for using Windows’ built-in photography apps (no extra downloads required!)

Who says you need a paid service or heavy software to store and edit photos? Unless you’re a professional photographer who is trying to work on client images, there’s no need to pay for a photo editing service.

Instead of wasting money, turn to your trusty Windows computer. Many free programs come pre-installed with any new PC, including photo apps.

Continue reading

All eyes on you: Use Google Photos? See all the pics you took in a specific location. Open the Google Photos app. In the bottom bar, tap Search. Under the Places section, tap View All.

Take a screenshot on your iPad: For iPads with a Home button, press it and the sleep/wake button together. No “Home” button? Press the power on/off and volume up buttons at the same time. Find your screenshot in your Photos app gallery.

Google's new privacy shortcut you'll want to use

Development may have stalled for platforms across the web due to COVID-19, but Google continues to churn out new products and features in spite of the pandemic.

In the past few months, the tech giant has added multiple new features to existing apps like Google Meet and has even given you the ability to delete your search and YouTube history automatically. Tap or click here to see how to set it up.

Continue reading