Organize your messy photo collection in 6 simple steps

Almost everyone today has a high-powered camera in their pocket and can take photos with reckless abandon. The days of “I wish I had a camera to capture this moment” are over. While it’s great to be able to take as many photos as you want, the drawback quickly becomes clear.
Don’t be surprised if you struggle to sort through endless folders and galleries across your devices. Syncing photos through the cloud ensures your pictures are safe, no matter what happens to your devices. Tap or click here for the best ways to save your phone’s photos before it’s too late.
If you have a mess on your hands, you’ve come to the right place. Organizing photos takes patience and time, but you’re only a few simple steps away from setting things up correctly. Here’s what you need to do to make your photo library easier to navigate.
1. Where are your pics?
According to InfoTrends, more than 1.72 trillion digital photos will be taken in 2022 alone. You’re contributing to that number daily, so it’s time to organize your messy photo collection.
You probably aren’t taking photos with your phone exclusively. The first step is to gather all your devices — your phone, tablet, camera, laptop, old thumb drives and hard drives and any old phones that still power on.
Next, move on to digital storage. Raid your email and social media accounts for photos from friends and family that you want to keep. Look through cloud storage services you subscribe to like Google Drive, iCloud or Dropbox to make sure you’re not missing anything.
RELATED: 8 tips for taking better nature photos on your phone
2. Digitize your old photos
Once you’ve found all the files you want to keep, move on to physical pictures. Scour your home for old photos, such as photo albums, storage boxes, frames and scrapbooks. Don’t forget those undeveloped rolls of film that have been hiding in the back of your drawer for years.
You might even have pictures hanging on the wall. Kim once took photos off her father-in-law’s walls and discovered many hidden photos in a single frame.
If you have any older relatives and you’re cleaning out their homes, make sure that you actually open up the back of the frame. You may have some hidden gems in there.
Kim Komando
You’ll want to convert your physical media into a digital format you can work with.
It’s a huge task getting all your old photos scanned and uploaded to your cloud storage account. It’s hard to beat a dedicated photo scanner for the job. Kim recommends the FastFoto photo scanner from our sponsor, Epson.
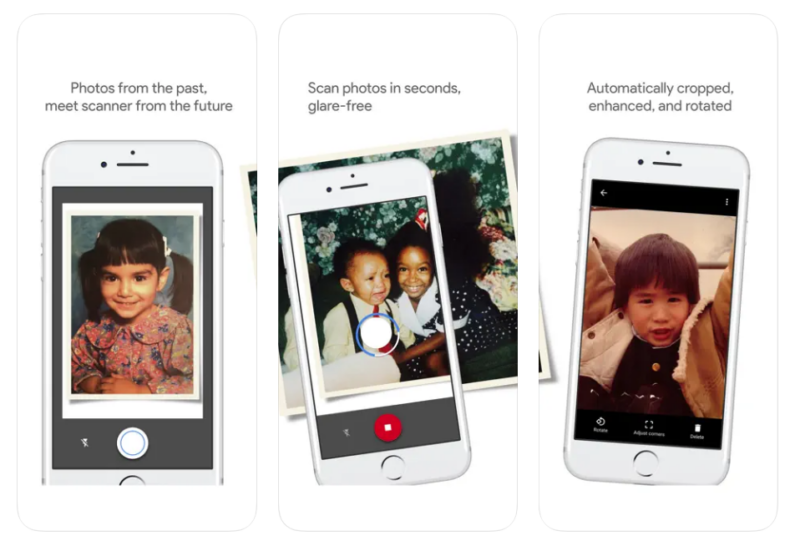
You can also try Google’s PhotoScan app. It turns your phone’s camera into a portable photo scanner. You can snap family photos and immediately digitize them — even when they’re in frames. It’s also useful for photo albums because you don’t need to take a photo out of the album to get the shot.

In just a few seconds, you get a glare-free photo that’s automatically cropped, enhanced and rotated. You can use this free photo app on iPhone or Android.
RELATED: 4 tips for printing photos at home
3. Don’t forget your Facebook account!
There may be photos in your Facebook account that you deleted from your smartphone or computer.
It’s pretty easy to free all your pictures from Facebook in one shot using the built-in downloader:
- Open Facebook on your computer, click your profile on the top right, then go to Settings & privacy > Settings.
- Select Privacy from the sidebar then click Your Facebook information.
- Select Download profile information.
- Click Deselect all (unless you want to download everything), then select only the Posts box.
- Choose the quality of the image files under Media quality.
- Next, select the date range. Select All time to include all your photos.
- Scroll down and click Request a download.
You can also download individual albums:
- Go to your profile and click Photos, then choose a photo album.
- At the top right of the photo album, select the three-dot menu.
- Then select the option that says Transfer your photos.
- Choose a destination for your photos.
You can download almost everything off of Facebook, not just your photos. Tap or click here and we’ll show you how!
4. Storage matters

Storage space on your phone is valuable. You don’t want to run out of real estate by storing thousands of photos. Your best bet is to store them digitally with an online photo service.
Note: Some storage services charge hefty fees as you use more space.
Adobe Lightroom
If you’re a serious photographer, check out Adobe’s Creative Cloud plans:
- The Lightroom plan gives you 1 TB of storage and includes Lightroom for desktop and mobile with other Creative Cloud services. It costs $9.99 per month.
- The Photography plan gives you 20 GB of storage and comes with Lightroom for desktop and mobile, Lightroom Classic and Photoshop on desktop and iPad. It costs $9.99 per month.
- A second Photography plan gives you 1 TB of storage and includes Lightroom for desktop and mobile, Lightroom Classic and Photoshop on desktop and iPad. It costs $19.99 per month.
The Lightroom app gives you everything you need to edit, organize, store and share photos across desktop, mobile and the web.
Lightroom Classic allows you to organize photos based on file type (your original RAW images, JPEGs and PSDs), rating, metadata, camera or lens used and more.
Google Photos
Google Photos started as a free and unlimited service, but that changed a while ago. You now get 15 GB of storage for free and have to pay for anything beyond that.
Your storage is shared across Google Drive, Gmail and Google Photos. You can get more storage with Google One:
- The Basic plan costs $1.99 monthly and comes with 100 GB of storage.
- The Standard plan costs $2.99 monthly and comes with 200 GB of storage.
- The Premium plan costs $9.99 monthly and comes with 2 TB of storage.

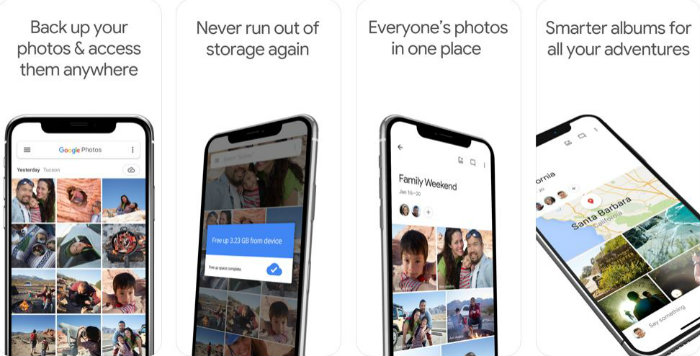
Google Photos lets you organize your collection into various subjects such as People, Places and Things. This makes finding photos easier and faster. It’s simple to use, too. You can add images to your Google Photos account from your computer, tablet or smartphone and set up automatic syncing.
Apple iCloud storage
Apple’s iCloud includes 5 GB of free storage and a free email account. You can back up your iPhone or iPad using iCloud and use it to store your passwords, videos, photos, files and notes.
If you want more storage, you need to upgrade to iCloud+:
- iCloud+ with 50 GB storage is $.99 per month.
- iCloud+ with 200 GB of storage is $2.99 per month.
- iCloud+ with 2 TB of storage is $9.99 per month.
All iCloud+ plans come with iCloud Private Relay (Beta), Hide My Email, Custom Email Domain and HomeKit Secure Video support. Tap or click here for more on these handy features.
5. To organize your messy photo collection, stop hoarding!
Now that you have all your photos in one place, it’s time to clean things up. A few duplicate photos here and there isn’t a big deal, but having hundreds or even thousands of duplicates is a waste of time and storage space.
Hunting down duplicates manually is miserable. There are apps for iOS, Android, Windows and Mac that can do the hard work for you.
For Apple and Android
Remo Duplicate Photos Remover
Remo Duplicate Photos Remover is an app that scans your phone for duplicates and deletes them. You can also use it to quickly remove duplicates created by messaging and social media apps.
For Mac
Photos Duplicate Cleaner
Photos Duplicate Cleaner easily locates and removes duplicate photos from your Mac. It’s available as a free download from the Mac App Store.
PDC creates groups of duplicate photos, so it’s easy to find the number of occurrences of similar images. All copies of a photo are deleted except the original. This can save you plenty of disk space on your Mac.
Once you’ve downloaded the program, follow the instructions on the download page to use it.
For Windows
Duplicate Cleaner
For Windows users, Duplicate Cleaner helps you locate and delete similar photos and works for other file types. Search for and delete multiple copies of documents, pictures and music quickly and easily.
It displays potential duplicates side by side for easy comparison. You’ll find photos that have been edited or saved in a different format so you can delete the duplicates you don’t need.
Follow the instructions on the site to use the program once it’s installed.
6. Sort through the mess and make sense of it all
Now that your collection is free of duplicates and in one place, your next step is to sort through the mess so you can easily find the photos you want. How can you speed that process up if you have hundreds or thousands of photos?
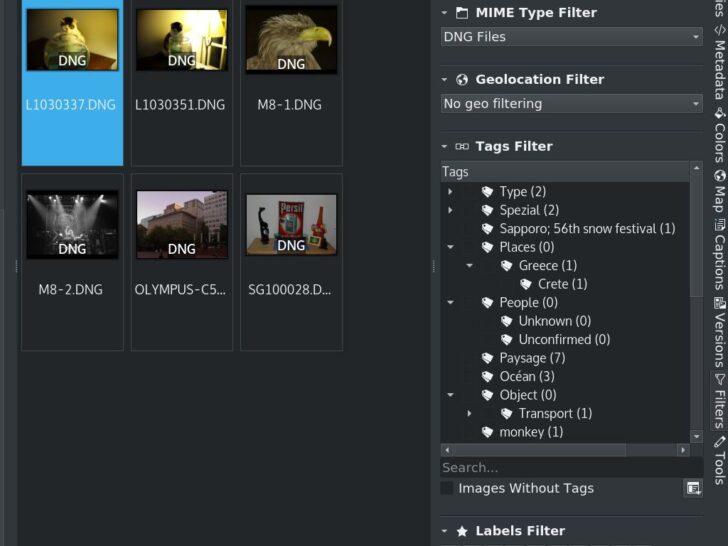
A smart photo organization app is your secret weapon. We recommend digiKam, a free, open-source program with powerful tagging tools you can then use to sort through your photos quickly.
This free app lets you work directly with your photos’ metadata, or all the info stored within the photo file like when it was taken, the camera details and even location.
Not only can you edit your library’s metadata, you can also edit batches of photos in one go. You can also search through metadata to find specific items.

You can add tags and geographic coordinates to your photos, making them easy to search for. You can also scan for specific faces in photos and label them, which will help you group photos by the people they feature.
Best of all, digiKam also contains exporting features that let you upload your files directly to your favorite cloud storage services. This lets you organize and back up your photos all in one place.
You may also like: 3 ways to save lost files from a failing hard drive
Tags: cameras, cloud storage, digital photos, metadata, photography, social media
